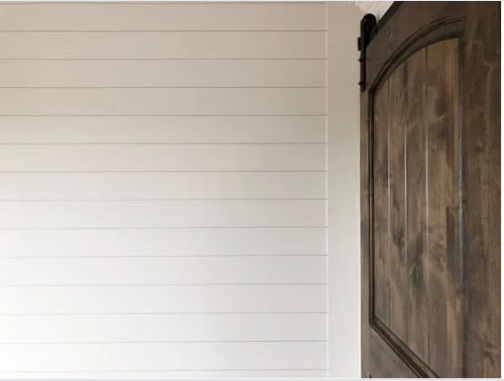
Turn a dull or boring space into a focal point by adding shiplap accent walls. It’s an inexpensive and easy way of adding a decorative flair to any blank wall.
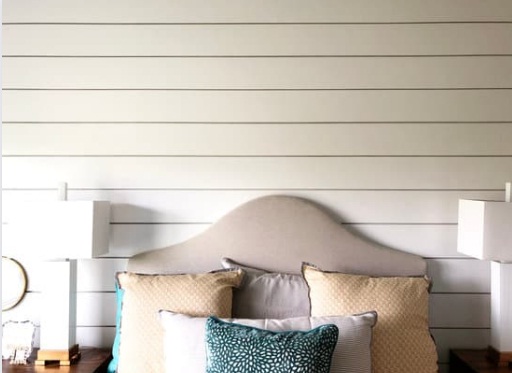
Here, we show you how to turn a blank wall into a statement by installing a shiplap accent wall. You can use this in bathrooms, bedrooms, kitchens, or any room you want to liven up.
Shiplap is usually used outdoors on sheds and barns as a form of siding. Nowadays, it has become a trendy accent wall idea to help give your house a rustic chic look.
What You Will Need:
- Shiplap wood: ¾ in. plywood boards
- Measuring tape
- Sandpaper
- Stud finder
- Nail gun or nails and hammer
- Heavy Duty Interior Adhesive or construction adhesive
- Carpenters Square
- Level
- Wooden ice pop sticks
- Paint
Step 1: Find Your Studs
Start by looking for your wall studs. These are the vertical beams that support the frame of your house and are located behind your drywall. Using a stud finder, locate the wall studs and mark the middle with a pencil. Continue these with the rest of the wall.
Finding the wall studs is important because this is where you will nail your shiplap.
As you go through your wall, you can also start cleaning and clearing it of any obstructions like nails, dry paint, and others.
Step 2: Measure And Prepare Shiplap Boards
Measure the length of wood you need starting at the wall’s base. Start cutting your shiplap wood according to the length needed using a table saw or ask your local hardware to cut them for you. Smoothen the edges using sandpaper.

Step 3: Paint
Once you have a clean and smooth wall, you can start painting the base. The safest color would always be eggshell white.
Shiplap has a signature gap between boards that lets the color of the base show through. So, it may be best to choose a different paint for the boards. Paint your boards and let them dry before you start attaching them to your wall.
Step 4: Install
You can now start installing your shiplap boards. Remember to start at the bottom base and work your way up.
Apply lines of adhesive glue to the backside of each board. Using a level, carefully place it against the wall and make sure it’s straight.
Next, use your nail gun and nail the shiplap boards right into the studs.
To create shiplap’s signature gap, place wooden ice pop sticks as spacers right before placing the next board. You can use a tape or any adhesive that you can easily peel off later.
Continue adding planks until you reach the top of your wall. Look for corner gaps, and cover them with molding pieces.
Step 5: Finishing touches
Cover nail holes with wood filler, let dry, and sand to smoothen. Remove the spacers in between the gaps and you’re done.
There you have it! Your shiplap accent wall is all set and ready. There are many remodeling home ideas you thought are difficult but are actually easy. You can start by making DIY faux marble kitchen countertops to big projects like making your patio more private.