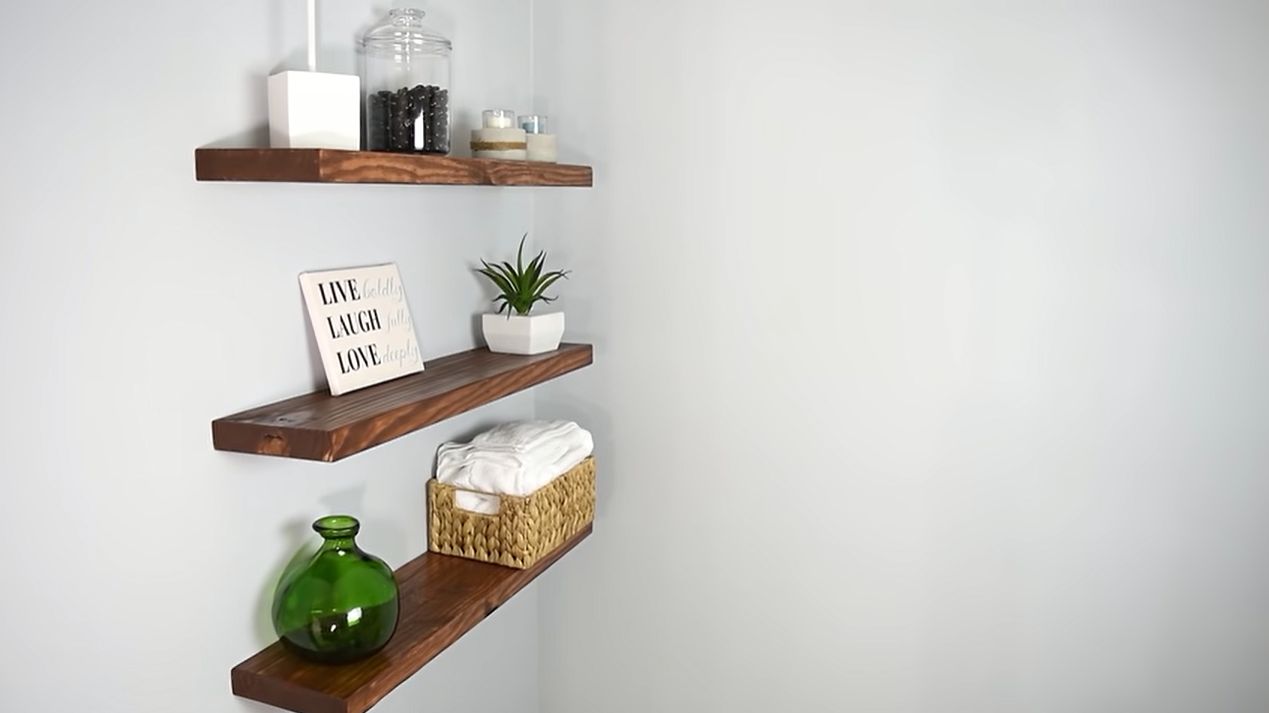
Shelves can be a great addition to your walls, creating space to display your collections or reduce clutter on the floor. But did you know that they’re so easy to make?
DIY Floating Shelves with No Brackets
Do you fancy adding some DIY floating shelves with no brackets on your walls to add some display space for your collections and whatnot? These can be a good home improvement project.
You can hire someone to make it or you can try to do it yourself. Check out our tutorial below.
Materials
- 8 ft x 2 in lumber
- Dowel rod
- Saw (regular or circular saw)
- Drill with ½ inch bit
- Sander or sandpaper
- Screws
Procedure
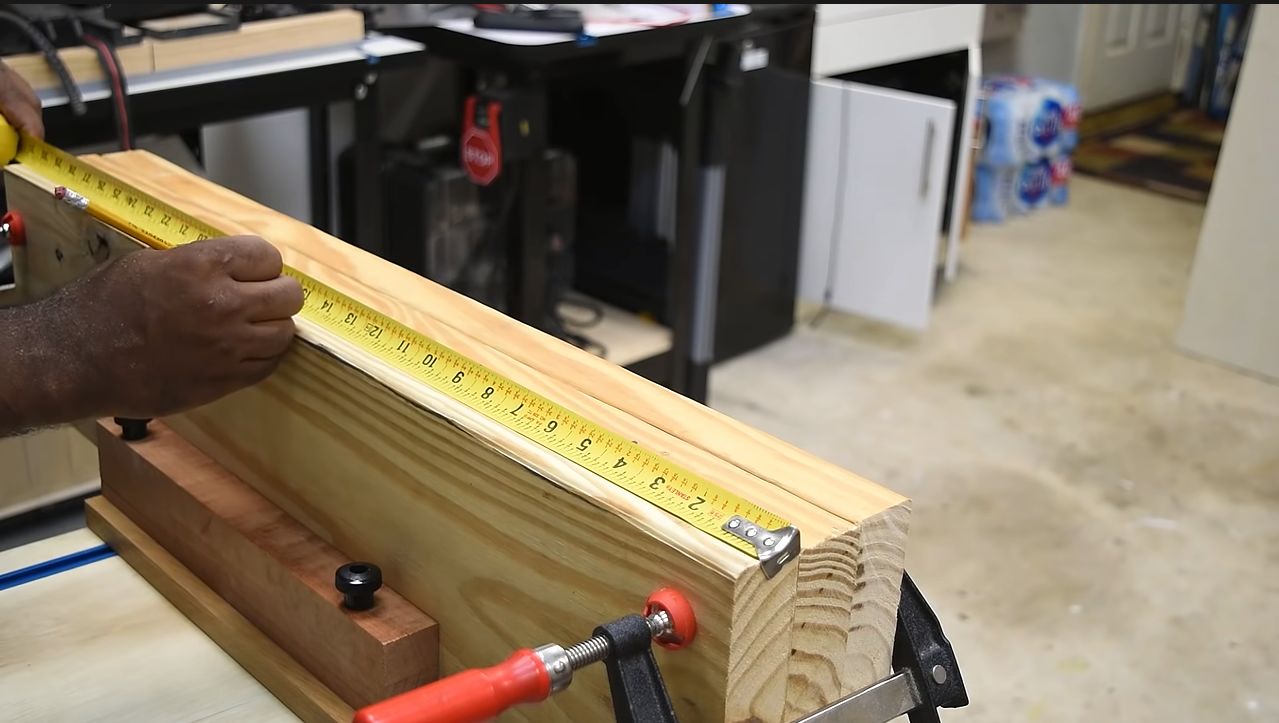
Step 1. Prepare your materials. You can have the lumber pre-cut at the hardware store (if they offer that service). If not, then you can cut it to the desired length by yourself.
Step 2. Cut 9 pieces (4 inches each) of the dowel rod.
Step 3. On each of your wood, put a mark in the middle and 2 inches from each end. Mark the center point of each line.
Step 4. Get the ½ inch bit and put tape to mark the length of the dowel.
Step 5. Drill the wood.
Step 6. Clean up and sand the wood.
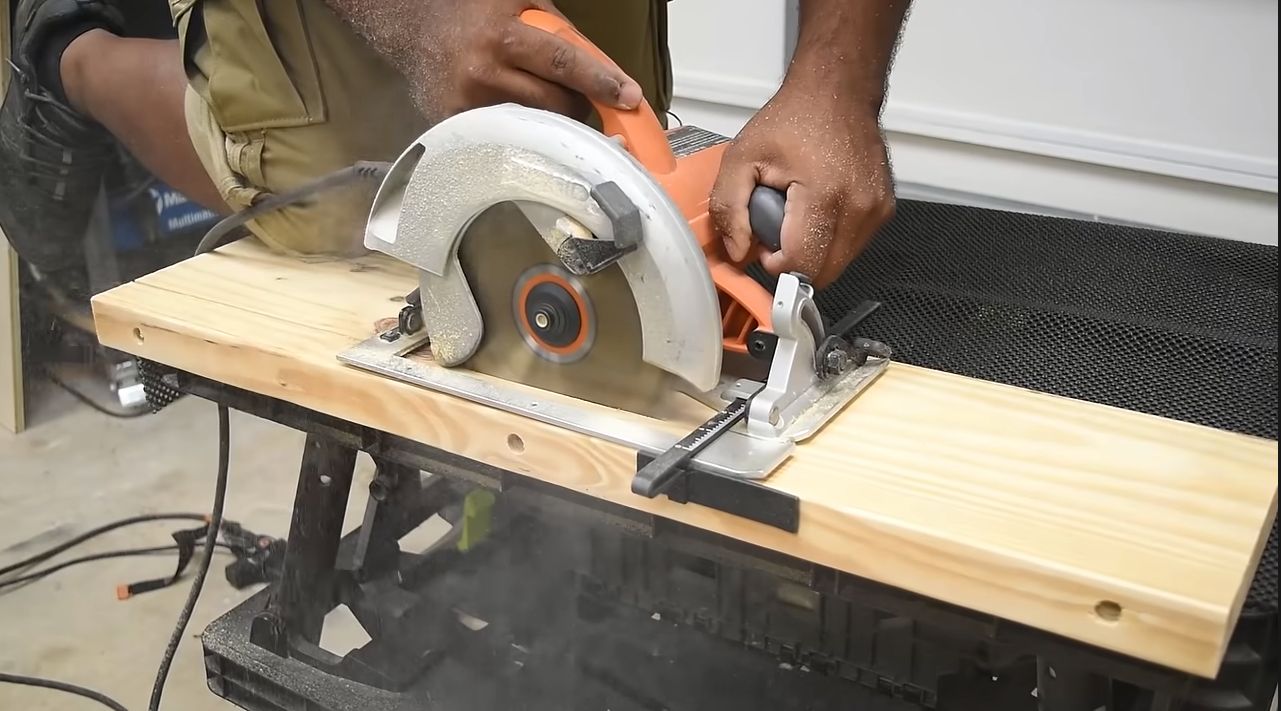
Step 7. Cut 1½ inch along the side where you made the hole for the dowel. Make sure to number the pairs so they don’t get mixed up.
Step 8. Sand the dowels to make sure they slide easily into the holes without being too loose.
Step 9. Sand the shelve pairs with the dowel.
Step 10. Put the pairs together and hammer the dowel in. If you remove the smaller piece, the dowels should easily slide in and out.
Step 11. Lock the dowels in place using a screw.
Step 12. You can stain or paint the shelves in your desired colors. Add the topcoat.
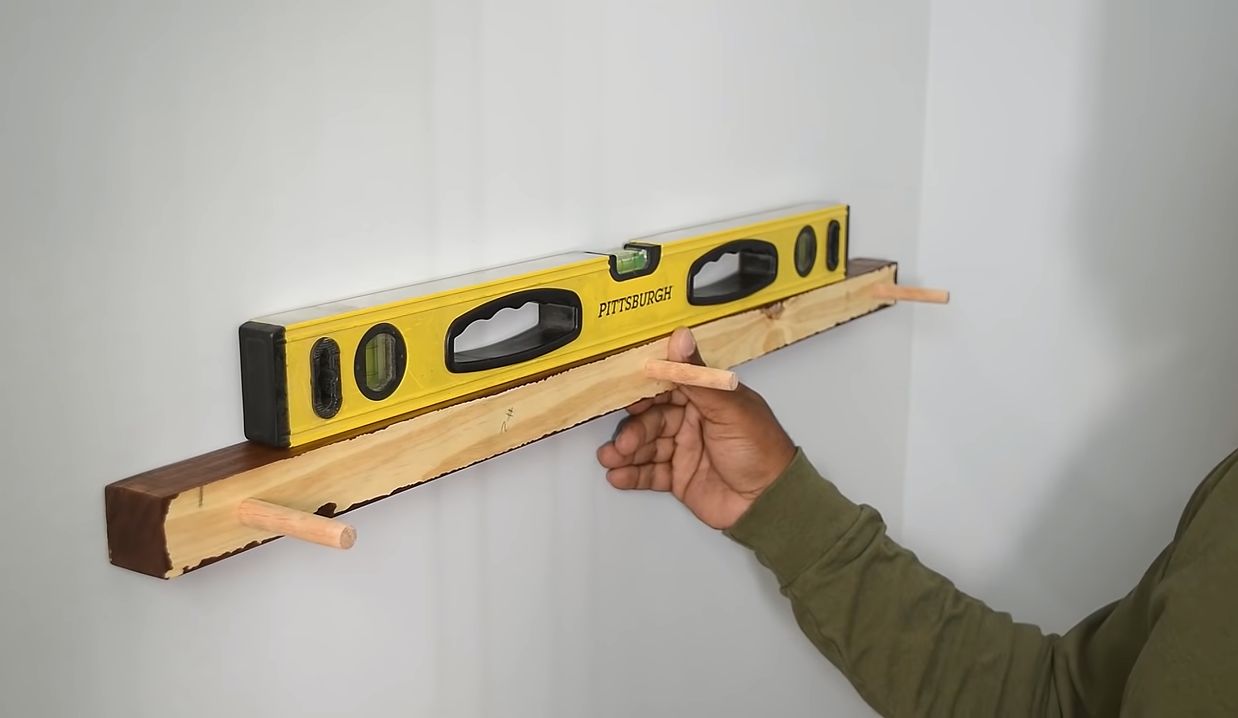
Step 13. Mount the shelf using the smaller piece. Make sure to check the level. Mark the wood pieces.
Step 14. Drill holes and mount the shelf on the wall using appropriate screws.
Step 15. Once they’re in, slide the rest of the shelf into place.
Step 16. Repeat the process until all your wood shelves are mounted. You can add a screw to lock the shelf into the invisible dowel.
You’re done! Congratulations on your DIY floating shelves.
Watch the tutorial video here: