Do you have a broken 3-way lamp switch? You don’t have to throw the lamp away. It’s possible that the lamp switch just needs to be replaced. Don’t know how to do it? Just follow the simple steps in this tutorial.
Replacing a Broken 3-Way Lamp Switch
There are many different ways to fix a broken light switch, depending on the type of switch that needs to be replaced.
In this tutorial, we’ll learn how to replace a 3-way lamp switch.
Step 1. Make sure to unplug the lamp. Then, take out the light bulb so you can work on the switch underneath.
Step 2. Buy a 3-way socket to replace the broken one.
Step 3. Unscrew the On/Off switch.
Step 4. Remove the cylinder sleeve. Pull it up slowly.
Step 5. Check the replacement socket. Remove the bottom piece and check it.
Step 6. Just like in Step 4, slowly remove the cylinder sleeve to check what’s inside. You can re-assemble the piece.
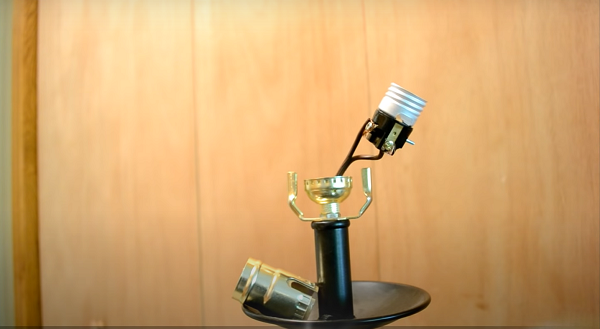
Step 7. Go back to the broken lamp. Unscrew the base and pull the wires into view.
Step 8. It’s time to clip the wires to remove the broken switch.
Step 9. Take a wire stripper. Crimp to the part you need, then strip both wires just around 2-3 cm from the top. Remove the old base.
Step 10. Twist the wires together so you can easily thread the new base. Make sure to set the base properly and tighten the piece. Set the screw.
Step 11. Take the replacement switch. Remove the cylinder sleeve (if you replaced/reassembled it earlier).
Step 12. Untie your wires. Put each wire into the designated spot at the base of the switch. Make sure you tighten them on the screws.
Step 13. Put the insulating cylinder sleeve back on. Then, push it down to the lamp. If the wire is extra long you can just pull it from the bottom for a snug fit.
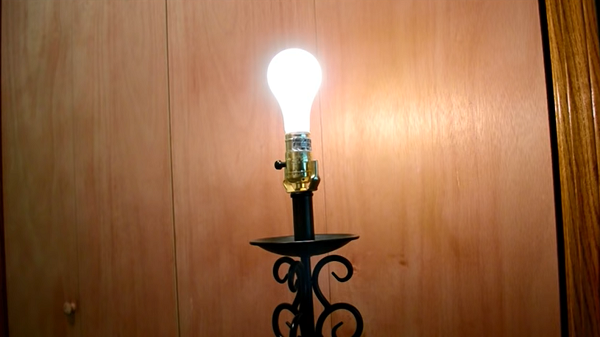
Step 14. Put the switch in. Then, put the light bulb. Plug it in and check your light bulb.
Did you get it right? Check out this video: