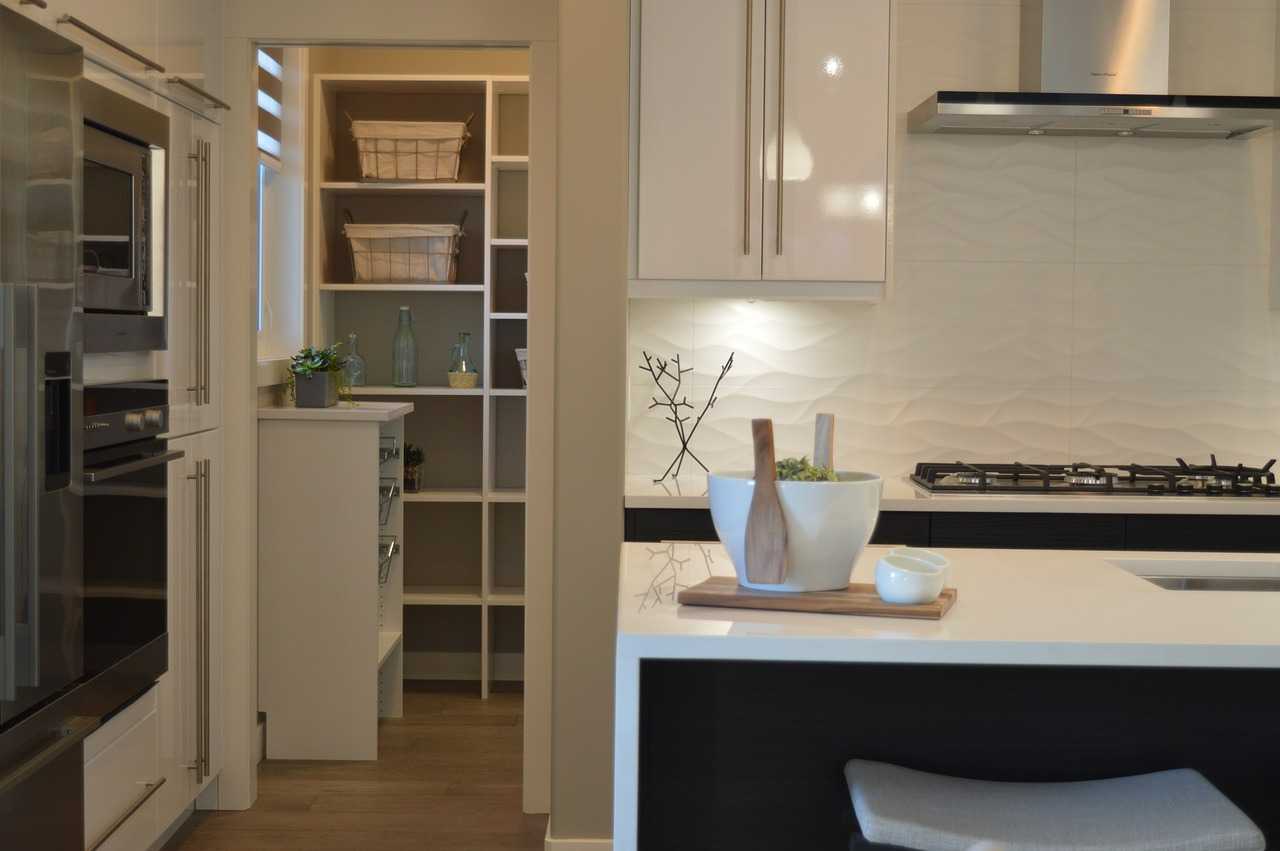
Building custom pantry shelves can transform your kitchen storage space, making it more organized and accessible. Whether you’re a seasoned DIY enthusiast or a beginner, this guide will take you through the process from planning to completion. Let’s dive into the world of custom shelving and turn your pantry into a masterpiece of efficiency and design.

Tools and Materials Needed
Before we start, ensure you have the following tools and materials:
- Measuring tape
- Level
- Pencil
- Drill and drill bits
- Screwdriver
- Saw (hand saw or power saw, depending on preference)
- Sandpaper (various grits)
- Wood screws
- Anchors (if attaching to drywall)
- Lumber (size and quantity depend on your pantry dimensions)
- Paint or wood stain (optional)
- Paintbrush or roller (if painting or staining)
- Safety gear (gloves, goggles, mask)
Step-by-Step Guide
- Planning and Measuring: Begin by emptying your pantry and measuring the space. Decide how many shelves you need and the spacing between them. Consider the sizes of items you plan to store. Sketch your design, noting the lengths and widths of each shelf.
- Purchasing Materials: With your measurements in hand, visit your local hardware store to purchase the necessary lumber and supplies. If you’re not comfortable cutting wood yourself, most stores can cut it to your specified dimensions.
- Cutting the Lumber: If you’re doing the cutting yourself, mark your measurements on the lumber and use a saw to cut the pieces to size. Always wear safety gear to protect yourself from dust and debris.
- Sanding: Once all pieces are cut, sand the edges and surfaces to remove any splinters or rough areas. Start with a coarser grit sandpaper and finish with a finer grit for a smooth finish.
- Assembling the Shelves: If you’re attaching the shelves directly to the wall, mark the stud locations and level lines where the shelves will go. If you’re creating a freestanding unit, assemble the frame first, then attach the shelves at the desired heights.
- Mounting the Shelves: Use a drill to create pilot holes, then screw the shelves into place. If mounting to drywall, use anchors to ensure the shelves are secure. Check each shelf with a level as you go to ensure they’re perfectly horizontal.
- Finishing Touches: If desired, apply a coat of paint or stain to your shelves. This can add a protective layer and enhance the look of your pantry. Allow ample time for drying before placing items on the shelves.
Tips for Success
- Always measure twice and cut once to avoid mistakes.
- Consider adjustable shelving brackets for more flexibility.
- Leave space between the shelves and the pantry ceiling for larger items or baskets.
- Label shelves or use clear containers for easy identification and access.
- Maintain a clean and organized pantry by regularly decluttering and reorganizing.
Building custom pantry shelves is a rewarding project that can enhance the functionality and appearance of your kitchen. By following these steps and tips, you’ll create a personalized storage solution that meets your needs and preferences. Enjoy your new, organized pantry space!


