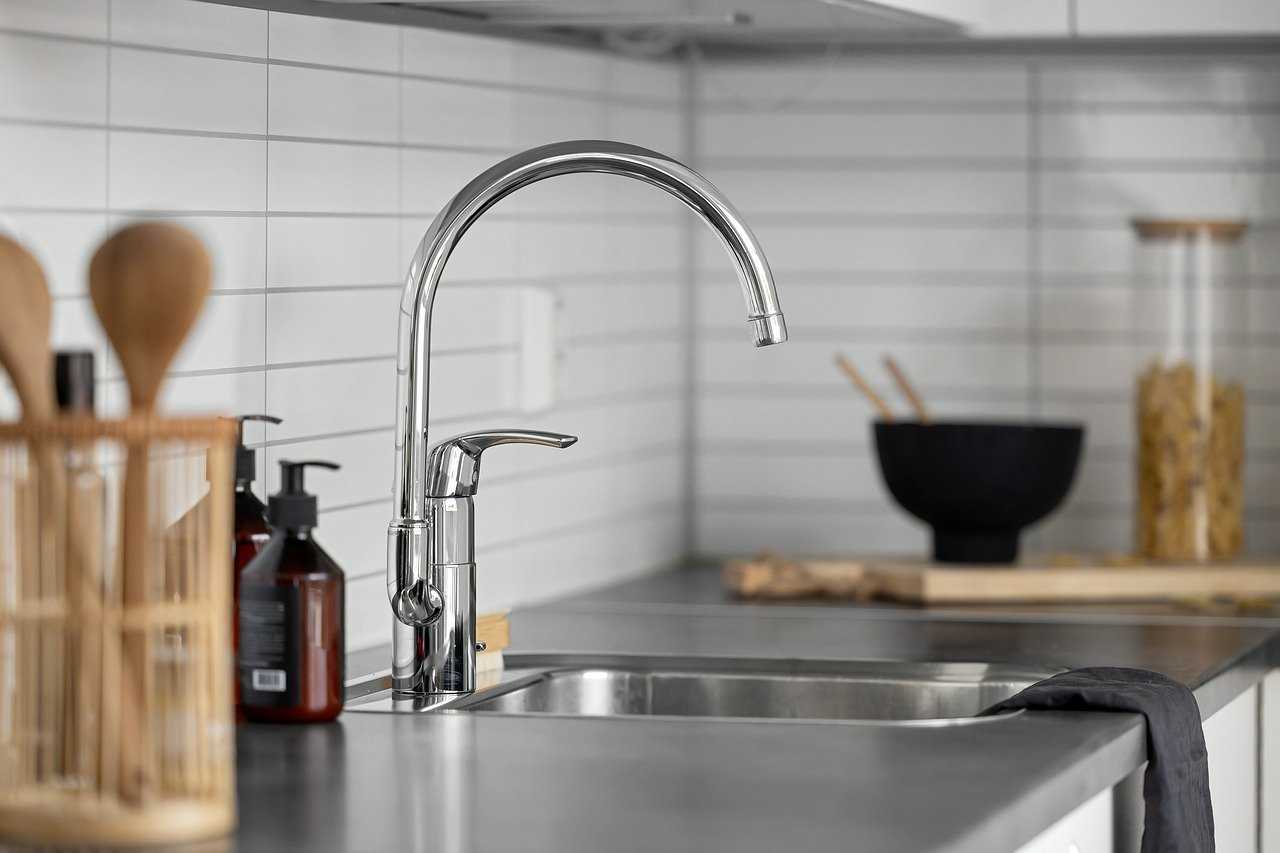
Are you planning a kitchen remodel or just need to replace a worn-out faucet? Upgrading your kitchen faucet is more than just a cosmetic enhancement; it is also a practical change that may make your kitchen more functional and delightful to use. Whether you’re a seasoned DIYer or are considering this task for the first time, this article will follow you through the steps, assuring a successful update to your kitchen’s most utilized fixture.

Understanding the basics
Before beginning the replacement procedure, it is critical to understand the many types of kitchen faucets available and which may best meet your demands. There are numerous alternatives available, including single-handle faucets for convenience of use and pull-down sprayers for enhanced utility. Consider the sink’s configuration—the number of holes available and their spacing—to ensure that your new faucet fits perfectly.
Preparation is key.
The first step in replacing your kitchen faucet is to set up the space and gather the necessary supplies. You will require an adjustable wrench, plumber’s tape, a basin wrench, and possibly some silicone sealant. Clearing away the space under the sink will improve your access and visibility, making the work easier.
Step-by-Step Faucet Replacement
- Turn Off the Water Supply: Find the valves under the sink and turn them clockwise to turn off the water. Turn on the faucet to release any remaining pressure in the lines.
- Disconnect the Water Lines: Place a bucket under the workspace to collect any drips. Using the adjustable wrench, disconnect the water supply lines from the faucet.
- Remove the Old Faucet: A basin wrench might help you reach the nuts that hold the faucet to the sink. Once these are gone, lift the old faucet out.
- Clean the Surface: Before installing the new faucet, clean the sink’s surface around the installation area to guarantee a proper seal.
- Install the New Faucet: Refer to the manufacturer’s directions for your specific model. Typically, you will install the new faucet in the sink’s holes, fasten it with the given hardware, and apply the plumber’s tape to the threads of the water supply lines before reconnecting them.
- Test Your Work: Once everything is secured and in place, cautiously turn on the water supply and check for leaks. Make sure all connections are secure and the faucet works properly.
Tips for a Successful Replacement.
- Measure Twice, Buy Once: Before choosing a new faucet, ensure that the hole spacing matches the layout of your sink.
- Keep the Area Organized: Small parts are readily misplaced; keeping your workspace neat can help you prevent extra irritation.
- Do not overtighten connections, as this can harm the fittings. Tighten until snug, then add a little turn if necessary.
Replacing a kitchen faucet can significantly improve the appearance and functionality of your kitchen. With the correct tools and a little patience, you can create a professional-looking renovation that not only increases the value of your home but also makes your kitchen more fun to use. Whether you’re an experienced DIYer or a beginner, following these instructions will result in a smooth and effective faucet replacement.


