Embarking on the adventure of DIY projects can be both exhilarating and daunting. Recently, I decided to tackle a project that had been on my to-do list for quite some time: tiling the floor of my laundry room. This undertaking was not just about enhancing the aesthetics of my home but also about creating a more functional and durable space. In this article, I’ll share my first-person experience, the challenges I faced, and the invaluable lessons I learned along the way.
The Planning Phase: Laying the Groundwork
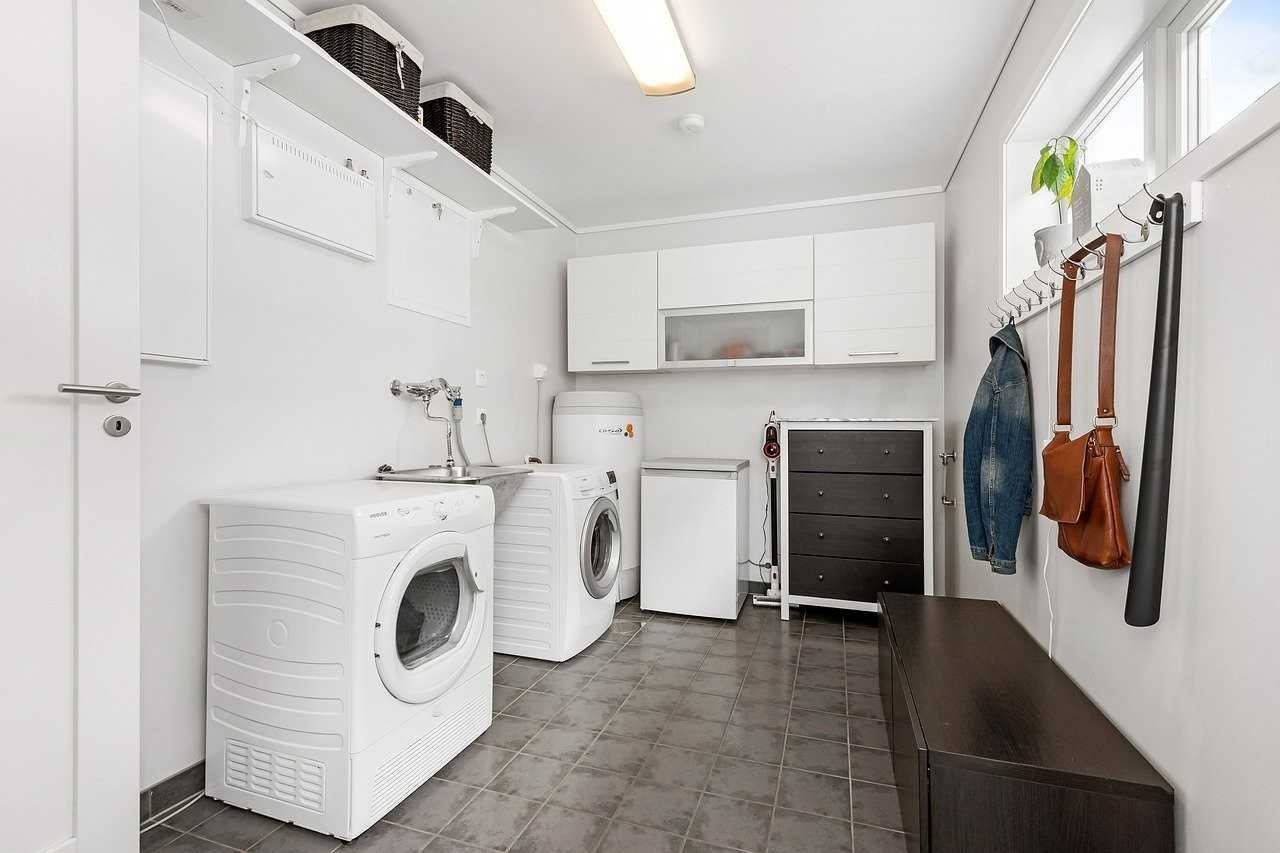
The journey began with meticulous planning. Choosing the right type of tile was paramount. I opted for ceramic tiles due to their durability, ease of cleaning, and moisture resistance—a crucial factor for a laundry room environment. The next step involved measuring the room to determine the quantity of materials needed, including tiles, adhesives, grout, and tools. Armed with a detailed list, I ventured to the home improvement store, excitement and anticipation fueling my stride.
Preparation: The Foundation of Success
Preparation was key to ensuring the success of this project. I started by clearing out the laundry room, which involved moving the washer and dryer to another area. This provided me with a blank canvas to work on. Next, I cleaned the floor thoroughly to remove any debris and dirt that could interfere with the adhesion of the tiles. I also took this opportunity to repair any cracks or uneven areas on the concrete subfloor.
Laying the Tiles: Where Precision Meets Patience
The actual tiling process required a level of precision and patience I hadn’t anticipated. I began by laying out the tiles without adhesive to plan the layout and make any necessary cuts. This dry run was crucial for visualizing the result and ensuring the tiles were evenly spaced and aligned.
Mixing the adhesive to the right consistency and applying it with a notched trowel were skills I quickly had to master. I carefully placed each tile, pressing it firmly and using spacers to maintain even gaps in the grout. The satisfaction of seeing the floor take shape was unparalleled, but it was a slow and methodical process that tested my patience.
Grouting: The Finishing Touch
After allowing the tiles to set for 24 hours, it was time for grouting. Choosing a grout color that complemented the tiles was essential for a cohesive look. Mixing and applying the grout filled the spaces between the tiles, and suddenly, the room transformed. The grout secured the tiles in place and added to the overall aesthetic. Cleaning off the excess grout required a gentle yet firm hand, ensuring the tiles shone through without haze.
Reflections: The Triumphs and Trials
The project was not without its challenges. From unexpected cuts and bruises to the steep learning curve of tile laying, each day I have brought new lessons. However, the sense of accomplishment that came with completing the project was immeasurable. Not only did I enhance the beauty and functionality of my laundry room, but I also gained a new set of skills and a deeper appreciation for the art of DIY projects.
In conclusion, tiling the laundry room floor was a rewarding experience that taught me the value of preparation, patience, and perseverance. It’s a testament to the fact that with the right approach, even the most daunting DIY projects can be tackled successfully. For anyone considering a similar project, my advice is to plan thoroughly, embrace the learning process, and enjoy the journey of transforming your space.