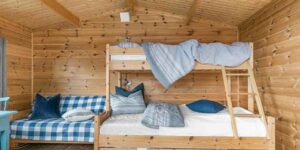
Since my family grew, it became clear that we needed to find ways to save room in our home. I started building a twin over queen bunk bed with a mix of joy and fear. This project wasn’t just about saving room; it was also about giving my family a safe, comfortable, and useful place to sleep. I’ll walk you through every step of this fun job and share what I learned along the way, along with helpful hints to make building your bunk bed as easy as possible.
Step 1: Designing the Bed
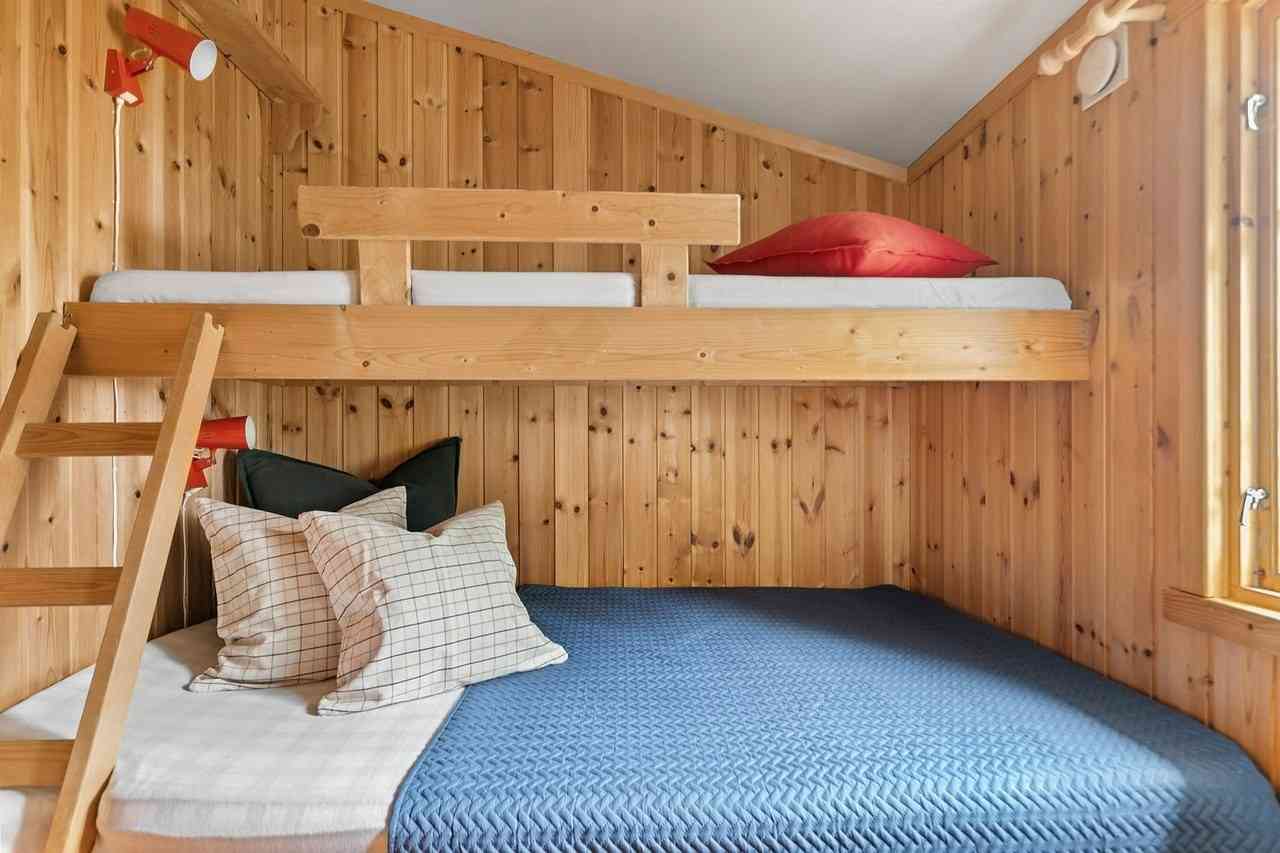
The first step was to design the bed. I wanted a sturdy, safe, and comfortable bunk bed that could accommodate a twin mattress on top and a queen mattress on the bottom. After scouring the internet for designs, I settled on a plan that included guardrails for the top bunk and a ladder for easy access. I sketched out my design, noting the dimensions and materials needed.
Step 2: Gathering Materials and Tools
Next, I gathered the necessary materials and tools. This included:
- Lumber (2x4s for the frame, 1x4s for slats)
- Plywood (for the mattress supports)
- Screws and bolts (for assembly and securing the frame)
- Drill
- Saw
- Sandpaper
- Paint or stain (optional)
I chose high-quality pine wood for its durability and aesthetic appeal. Safety was my top priority, so I also invested in brackets to reinforce the corners.
Step 3: Cutting the Wood to Size
Using my design as a guide, I cut the lumber to the required lengths with a saw. This step required precision, as accurate cuts are crucial for a sturdy construction. I cut pieces for the frame, slats, guardrails, and ladder, labeling each piece to avoid confusion during assembly.
Step 4: Assembling the Frame
Starting with the queen bed frame, I laid out the pieces on a flat surface and began to assemble them, using screws to secure each corner. I then repeated this process for the twin bed frame. Ensuring the frames were square and the level was critical for the overall stability of the bunk bed.
Step 5: Adding Support and Safety Features
I installed the mattress supports by attaching plywood sheets to the frames, ensuring they were evenly spaced and securely fastened. I added guardrails on all sides for the top bunk, leaving space for the ladder. The ladder was constructed separately and then attached firmly to the bed frame.
Step 6: Finishing Touches
With the construction complete, I sanded down any rough edges to prevent splinters and applied a coat of paint for a polished look. I chose a neutral color that matched the room’s decor, creating a seamless addition to our space.
Step 7: Mattress Selection and Bedding
Choosing the right mattresses was essential for comfort and safety. I opted for mattresses that fit snugly within the frames, ensuring there was no gap between the mattress and the guardrails. Finally, I dressed the beds with cozy bedding, transforming the bunk bed into an inviting space for sleep and relaxation.
Reflections on the Project
Building a twin over queen bunk bed was hard work that paid off significantly. It not only helped us make the most of the room we had, but it also made our home feel more like us. Our new bunk bed is great for us and the kids love it. I’m also proud that I built it myself.
If you want to do something similar, I suggest you carefully plan, put safety first, and don’t rush the process. It can be fun and satisfying to build your bunk bed, which will last for years, save room, and look great in your home.
