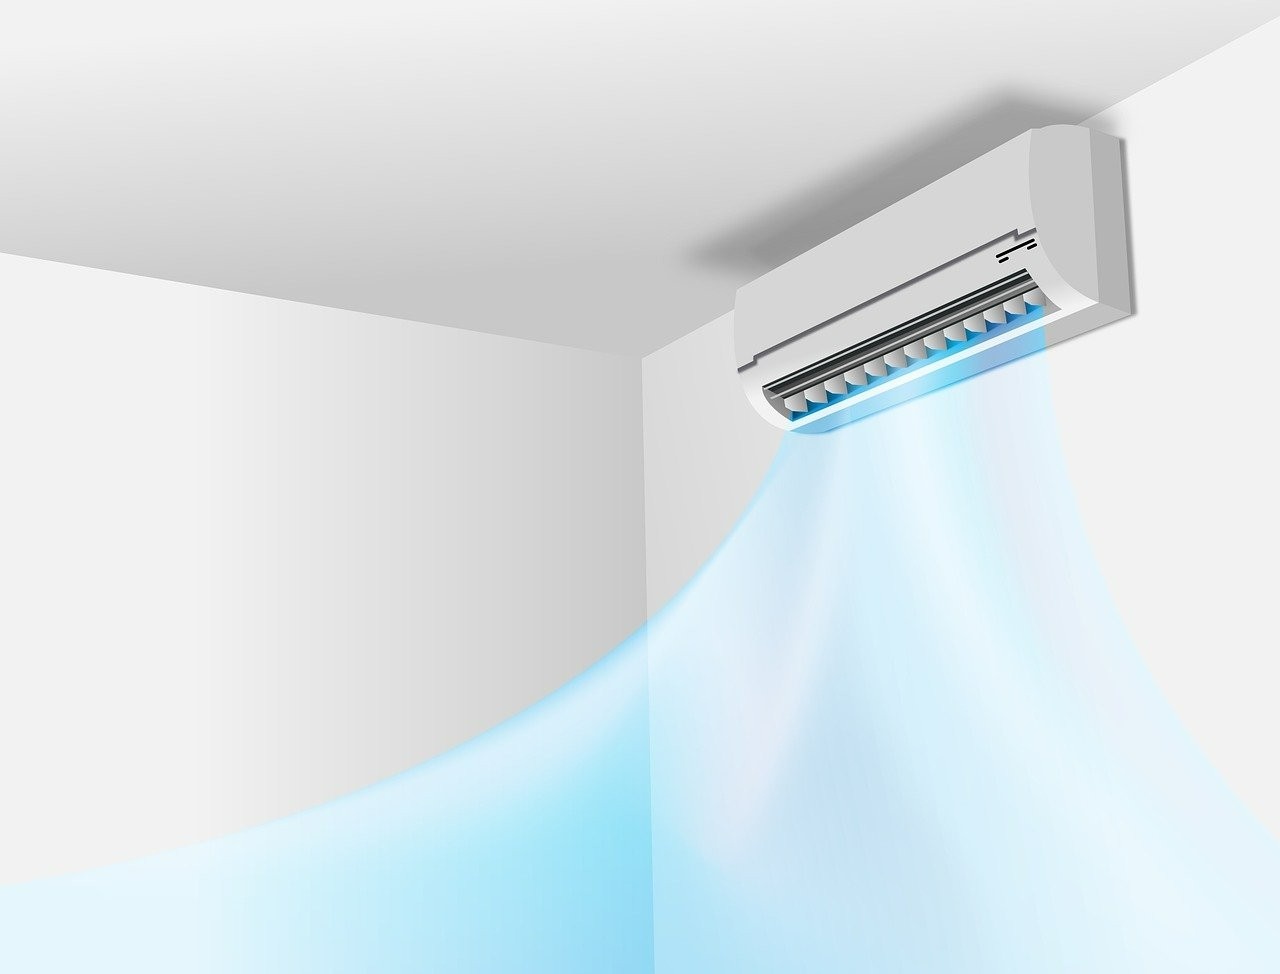
As the summer heat ramps up, keeping my air conditioner running efficiently is a top priority. I recently faced an issue with excessive condensation buildup, which prompted me to take a closer look at my unit. Upon opening it, I discovered a thick layer of dust on the evaporator coil. With a few simple steps, I cleaned it, and the improvement in airflow and cooling was noticeable immediately!
Why Cleaning the Evaporator Coil Matters
A dirty evaporator coil can lead to poor performance and higher energy bills. As mentioned in this article on fixing a dripping air conditioner, excessive condensation buildup can often result from a dirty or blocked evaporator coil. Regular cleaning ensures that your air conditioning system runs smoothly, preventing potential leaks or breakdowns. Here’s how I tackled this maintenance task and revitalized my air conditioner.
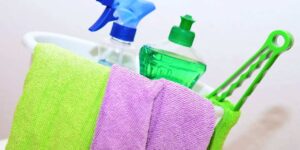
Materials I Used to Clean the Evaporator Coil
- Soft Brush: I bought a soft brush at my local hardware store. It’s perfect for gently removing dust without damaging the coils. You can also find similar brushes at home improvement stores like Home Depot or Lowe’s.
- <strong”>Coil Cleaner or Mild Detergent: I used a commercial coil cleaner that I picked up at a local appliance supply store. If you prefer, a mixture of mild detergent and water works just as well. You can find coil cleaners online at sites like Amazon or at your local Walmart.
- Spray Bottle: I reused a spray bottle that I had at home, but you can easily find one at any dollar store or grocery store.
- Clean Cloth: I used an old microfiber cloth that I had lying around, but you can buy packs of these at stores like Target or any supermarket.
Step-by-Step Guide to Cleaning the Evaporator Coil
- Turn Off the Unit: Safety first! I made sure to turn off the air conditioner and unplug it from the power source before starting the cleaning process.
- Remove the Front Panel: Gently took off the front panel of my air conditioner to access the evaporator coil. This step was straightforward and didn’t require any special tools.
- Brush Off Loose Dirt: Using a soft brush, I carefully removed the loose dirt and dust from the coil. This step was essential to ensure that the cleaner could effectively penetrate any stubborn grime.
- Apply Coil Cleaner: Next, I sprayed a coil cleaner over the evaporator coils. If you don’t have coil cleaner on hand, a mix of mild detergent and water works just as well. I made sure to cover the coils evenly.
- Let It Sit: I allowed the cleaner to sit for about 5-10 minutes. This time let the solution break down any residue on the coils, making the next step even easier.
- Wipe Off the Residue: After the wait, I grabbed a clean cloth and wiped off the residue, revealing a much cleaner coil.
- Let It Dry: Before reassembling everything, I made sure to let the coil dry completely. This step is crucial to prevent any moisture buildup when I turned the air conditioner back on.
After putting everything back together and restoring power to my air conditioner, the improvement in airflow and cooling was immediate. The unit ran more efficiently, and I felt the cool breeze fill the room much quicker than before. It was a simple fix that made a significant difference!
Cleaning the evaporator coil is a simple DIY task that anyone can do. As highlighted in the article about fixing dripping air conditioners, regular maintenance—including cleaning the evaporator coil—can help prevent water leaks and improve efficiency. By taking the time to maintain this vital component of your air conditioning system, you can enjoy better performance and extend the life of your unit. If you notice your air conditioner isn’t cooling as well as it used to, don’t hesitate to try this easy fix!