It all started with a cracked laundry basket and a packet of bush bean seeds I almost forgot I had. I never imagined that something as mundane as an old laundry basket would become the home of one of the most satisfying gardening experiments I’ve ever tried.
If you’ve ever wanted to grow your own green beans but don’t have a ton of space, or if you love upcycling old stuff like I do, let me walk you through how I turned my laundry basket into a mini bush bean farm — and got a tasty harvest from it!
The Lightbulb Moment
It was early spring, and I was cleaning up the house when I stumbled upon a plastic laundry basket that had seen better days. One handle was cracked, and the base had worn thin. Just as I was about to toss it, I had a thought: Could I grow something in this?
Bush beans came to mind immediately. They don’t require trellises like pole beans, they grow compact, and they produce fairly quickly. Plus, nothing beats the taste of green beans straight from your own garden — fresh, sweet, and crunchy.
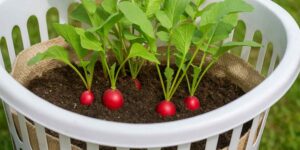
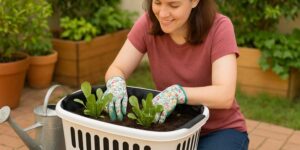
Turning Trash Into a Planter
Here’s how I gave that old basket a new purpose:
- Lined it with a reusable grocery bag – One of those non-woven, breathable ones. It held in the soil but still let water drain out through the basket holes.
- Filled it with good soil – I used a mix of garden soil, compost, and a bit of perlite for drainage. Bush beans like rich, well-draining soil.
- Planted the seeds directly – I poked small holes (about 1 inch deep) and spaced the seeds roughly 4–6 inches apart. Then covered them and gave it a gentle watering.
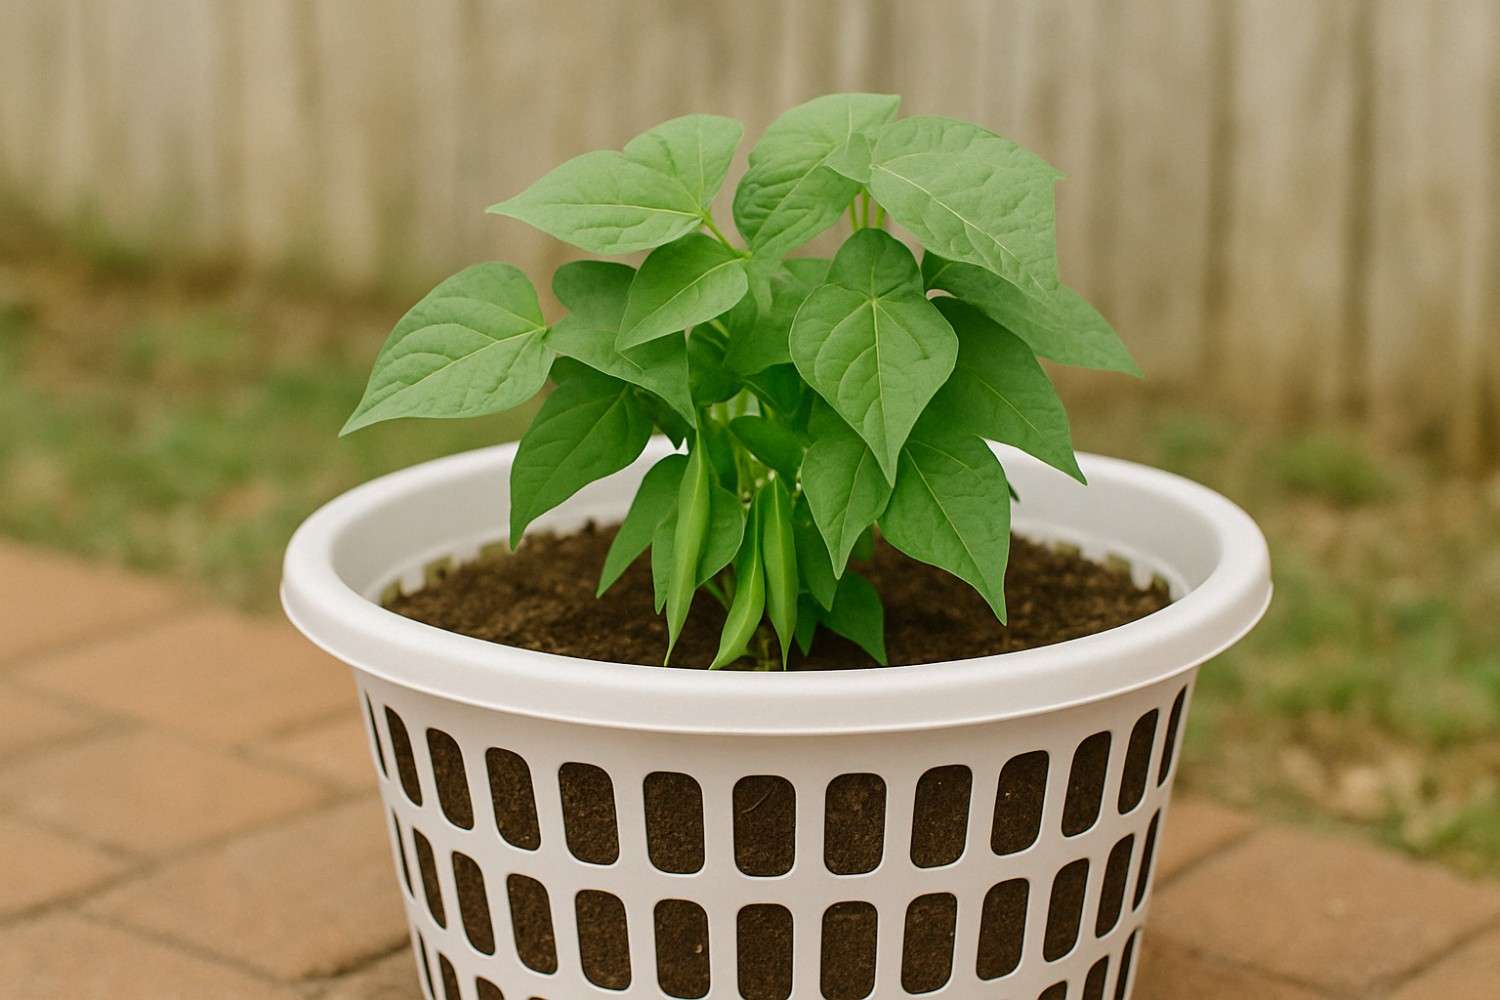
The Waiting Game (and a Little Babying)
I placed the basket where it would get at least 6 hours of sun a day. Morning sun is best where I live, so the east-facing side of my backyard patio became its new home.
In just about a week, those little green shoots started poking out of the soil. Honestly, it felt like watching a bunch of toddlers waking up — all sprouting in different directions, full of life.
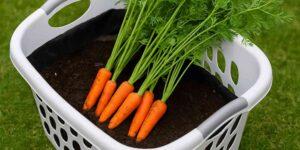
Growth Spurt and the First Harvest
By week three, the plants had grown thick and leafy. I didn’t even need to stake them — bush beans really do support themselves well. I just made sure to water consistently and checked the soil every couple of days.
Around day 50, I spotted the first baby beans forming. Let me tell you, nothing makes you feel more accomplished than harvesting food from something you basically saved from the trash. I picked a small handful every couple of days, enough to sauté with garlic or toss into a stir-fry.
Tips from My Experience
- Don’t overcrowd the basket. Bush beans need airflow to prevent mildew.
- Watch for pests early. Aphids and beetles love bean leaves — I used a neem oil spray every 10 days just to be safe.
- Harvest regularly. The more you pick, the more they produce!
Why I Loved This DIY Garden Hack
Besides being cost-effective and eco-friendly, this project reminded me that gardening doesn’t have to be fancy. It can be simple, a bit scrappy, and still incredibly rewarding. That laundry basket may not have held laundry anymore — but it definitely held life.
If you’ve got a sunny spot and an old basket, give it a try. Bush beans are forgiving, fast-growing, and perfect for container gardening. Plus, there’s something wildly satisfying about turning yesterday’s trash into today’s dinner.