Are you interested in making a side path but unsure of how to do it? It can be easy to do, with the right tools and patience. Check out this tutorial to find out how you can make a DIY side path using pavers at home.
Building a DIY Side Path
There are different materials that you can use to build a side path.
While pebbles and gravel can look great, they could eventually get stuck on the soil or become unevenly distributed.
Concreting the entire path might look neat at first, but this could pose other problems in the future, particularly if you have a lot of items (such as underground wires, pipes, or cables) in the area. Plus, this could also be costly and doesn’t look as nice as using other materials.
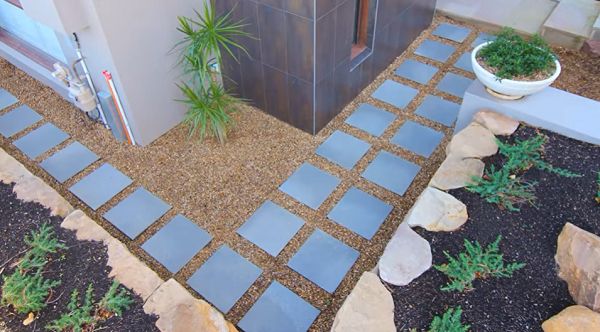
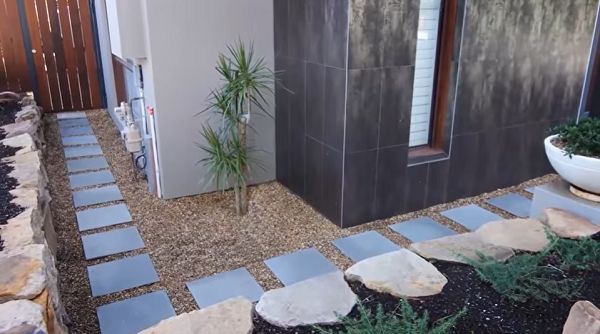
Pavers make the perfect options for a DIY side path because you can create different designs out of these materials. You can use pavers for the entire path or mix and match these with other materials, especially pebbles and gravel.
Landscaping Expert Jason Hodges shares an easy tutorial on how you can build a DIY side path using pavers.
Take note of the tools required to build this side path:
- Metal trowel
- Rubber mallet
- Spirit level
- Shovel
- String line
- Wheelbarrow (for transporting the pavers and gravel)
Steps to Building a DIY Side Path
Follow these simple steps:
Step 1. Work out the distance between the steppers. Make sure that the steppers have a good distance so that you won’t be leaping across a large space to get from one block to another.
Hodges suggests laying out the first and last ones, then working on the math of how much you’ll need in between. Others might want to lay out everything from the middle to be more centered or you can opt to start from the first stepper and simply work your way to the end.
Step 2. Set up a string line so the steppers will be aligned.
Step 3. Prepare the cement mix (ideal is 4:1).
Step 4. Lay the first pavers. Use the spirit level. Gently but firmly use the mallet to set these pavers in place. Continue laying out the pavers until you reach the end.
Step 5. Make sure to clean each paver’s surface as you go, so they won’t harden on the steppers.
Step 6. Allow at least 24 hours for the pavers to set in place.
Step 7. Spread the pebbles between and around the pavers.
Step 8. Once the space is filled out, hose everything down (the pavers and pebbles) for a nice look.
Watch the video here: