When it came time to renovate my bathroom, one of the key decisions I faced was choosing the right type of door. After much research and consideration, I decided on a sliding door, and I couldn’t be happier with the outcome. In this article, I’ll share my firsthand experience and insights on why a sliding door can be a superb choice for any bathroom.

Space Efficiency at Its Best
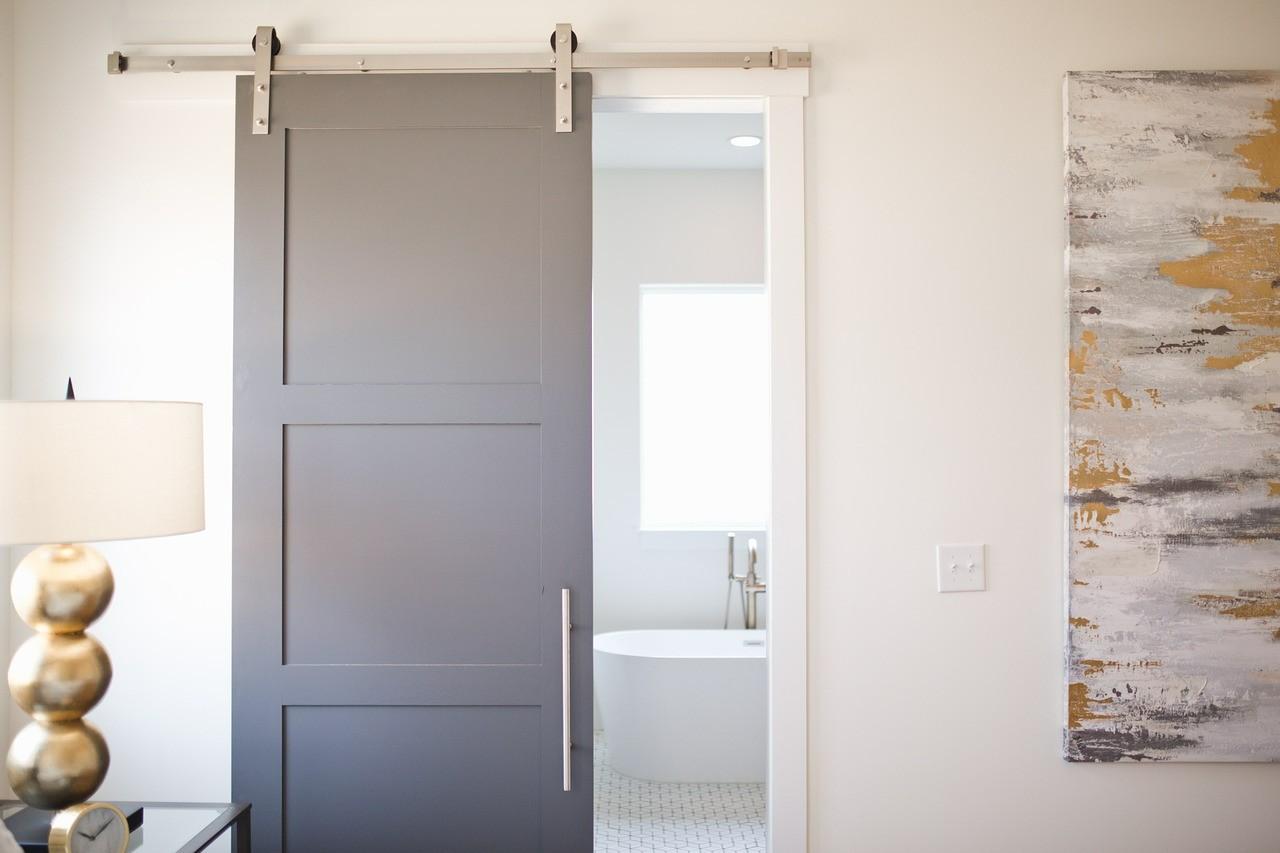
Living in a cozy apartment, space is a luxury I can’t afford to waste. Traditional swinging doors require clearance to open and close, which limited the usability of my already compact space. A sliding door, on the other hand, glides parallel to the wall and doesn’t intrude into the bathroom or adjacent areas. This design choice was a game changer for me, making my bathroom feel more spacious and accessible.
Sleek and Modern Aesthetics
Aside from functionality, aesthetics play a big part in any home renovation. Sliding doors have a sleek, modern look that can significantly enhance the overall design of a bathroom. I chose a frameless glass sliding door, which not only looks stunning but also allows light to flow freely, creating a brighter, more inviting space. This style seamlessly complements my contemporary decor, adding a touch of elegance without overwhelming the room.
Privacy Concerns Addressed
One common concern about sliding doors is privacy, especially in a bathroom setting. Initially, I shared this concern, but I found that high-quality sliding doors come with robust locking mechanisms that ensure privacy and security. Additionally, opting for frosted or tinted glass can provide an extra layer of privacy while still keeping the space open and light.
Maintenance and Durability
Maintenance is another factor I considered when choosing my bathroom door. Sliding doors with fewer tracks and hardware are easier to clean than their hinged counterparts. My sliding door has a simple track system that’s quick to wipe down, keeping the bathroom neat and tidy. Moreover, the materials used in high-quality sliding doors are designed to withstand the humid and wet conditions typical in bathrooms, ensuring longevity and durability.
Maximizing Accessibility
For families or individuals with mobility issues, sliding doors can be an excellent choice. They require less force to open and can be operated with minimal effort, making them accessible for all ages and abilities. This aspect was particularly important to me, as I wanted a bathroom that could easily accommodate guests with different mobility levels.
Choosing a sliding door for my bathroom renovation has proven to be a wise decision. The benefits of space efficiency, modern aesthetics, ensured privacy, ease of maintenance, and enhanced accessibility have all contributed to a more functional and stylish bathroom. If you’re considering a bathroom renovation, I highly recommend exploring the sliding door option. It might just transform your space as wonderfully as it did mine.
How to clean sliding door tracks
Keeping your sliding door tracks clean not only ensures smooth operation but also extends the life of the doors. Over time, tracks can accumulate dirt, debris, and even mold, which can hinder the door’s functionality. Here’s a straightforward, step-by-step process to clean your sliding door tracks efficiently:
Step 1: Gather Your Cleaning Supplies
You will need:
- A vacuum cleaner with a hose attachment
- An old toothbrush or a small, stiff-bristled brush
- Baking soda
- White vinegar
- Paper towels or a clean cloth
- A spray bottle (optional)
- Lubricant (silicone-based recommended)
Step 2: Remove Loose Dirt and Debris
Begin by using the vacuum cleaner with the hose attachment to suck up any loose dirt, dust, and debris from the tracks. This initial step helps clear out the larger particles and makes the detailed cleaning easier.
Step 3: Apply Cleaning Solution
Mix a solution of equal parts white vinegar and water in a spray bottle. If you don’t have a spray bottle, you can just dip your brush into the mixture. Generously apply the vinegar solution to the tracks. For extra cleaning power, sprinkle baking soda onto the tracks before you apply the vinegar solution. This will cause a fizzing action that helps loosen grime.
Step 4: Scrub the Tracks
Take your toothbrush or stiff-bristled brush and scrub the tracks thoroughly. Pay extra attention to corners and edges where dirt tends to accumulate. The bristles should be able to get into the nooks and crannies to remove grime and buildup.
Step 5: Wipe Down
Once you have scrubbed the tracks, wipe away the loosened dirt and cleaning solution with paper towels or a damp cloth. Ensure you remove all residue to prevent streaking or leftover grime.
Step 6: Dry the Tracks
Dry the tracks completely with a clean cloth or paper towel. This step is important to prevent any water spots and to prepare the tracks for lubrication.
Step 7: Lubricate the Tracks
Apply a silicone-based lubricant to the tracks. This will help the doors slide smoothly and protect the tracks from future dirt buildup. Avoid using oil-based lubricants, as they can attract more dirt and may damage the door.
Step 8: Test the Door
Finally, slide the door back and forth a few times to ensure it moves smoothly. This will also help distribute the lubricant evenly along the tracks.