A soap holder in the shower is not only a useful addition to the bathroom, but it’s also a great way to show off your style. I’m here to walk you through the process in a clear, easy way, whether you like to do things yourself or don’t use a screwdriver very often. Let’s look at how I put my soap holder in place and how easy it is for you to do the same.
Step 1: Choose the Right Soap Holder
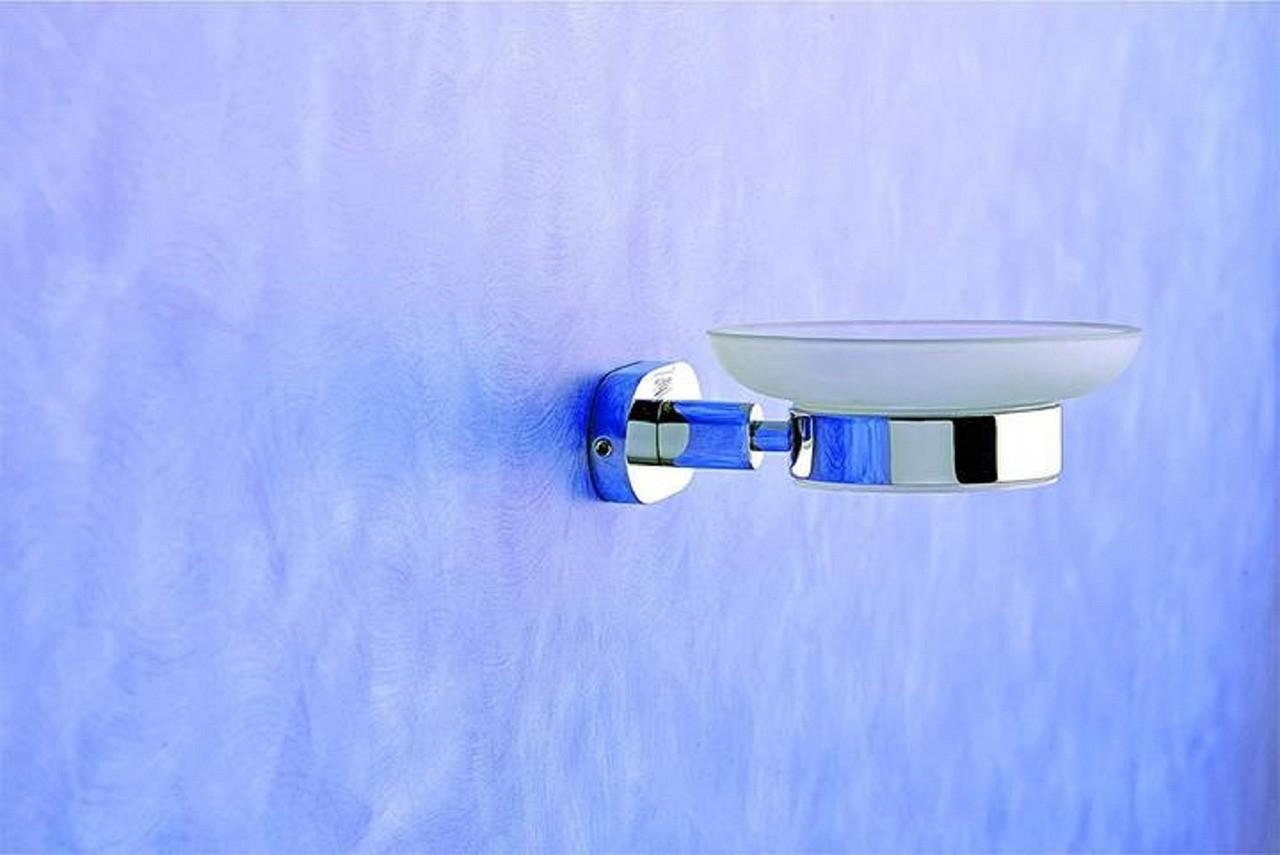
The first step is to select a soap holder that fits your needs and aesthetic preferences. There are various types available including ceramic, stainless steel, and plastic options. Consider the décor of your bathroom and the durability of the material. I went with a sleek, stainless steel model that matches my fixtures and is easy to clean.
Step 2: Gather Your Tools
Before you start, make sure you have all the necessary tools on hand. For most installations, you will need:
- A drill
- A screwdriver
- Wall plugs
- Screws
- A level
- A pencil
- A measuring tape
Having these tools ready will streamline the installation process and prevent any mid-project runs to the hardware store.
Step 3: Mark the Spot
Decide where you want to place the soap holder. It should be easily accessible but not in a place where it might obstruct your movement in the shower. Use the level to mark the spot where the holder will be installed to ensure it is perfectly horizontal. This is crucial as you don’t want your soap sliding off!
Step 4: Drill the Holes
Once you’ve marked the spot, it’s time to drill holes for the screws. Make sure to choose a drill bit that corresponds to the size of the wall plugs you have. Drill carefully and slowly to avoid cracking tiles or damaging your shower walls.
Step 5: Insert Wall Plugs
Insert the wall plugs into the holes you’ve just drilled. These will help secure the screws in place and ensure that your soap holder stays mounted, even with the weight of the soap and water exposure.
Step 6: Screw in the Soap Holder
Now, align your soap holder with the holes and start screwing it in place. Tighten the screws until the holder feels secure but be careful not to overtighten as this could damage the holder or the wall.
Step 7: Seal the Edges
If your soap holder is in a wet shower area, you might want to apply a silicone sealant around the edges to prevent water from seeping behind it. This will help maintain the integrity of your shower wall and the soap holder.
Step 8: Test It Out
Finally, place your favorite soap on the new holder and give it a test. Make sure everything is stable and secure. Now, you can enjoy your shower’s convenience and added style!
The usefulness and appearance of your bathroom can be greatly improved by adding a soap holder. If you follow these easy steps, you can make a system that looks great and works well. Get ready to take a shower that is better planned and looks better!