Illuminating your home’s entry with a porch light not only improves its curb appeal but also increases security and safety at night. Many homeowners find the task of installing a porch light overwhelming. However, with the proper tools and a step-by-step strategy, you can simply incorporate this welcome feature into your house. Here’s the comprehensive method to installing a porch light, so you can easily illuminate your entryway.
Preparation: Tools, Safety
It is critical to gather the appropriate tools and materials before beginning the porch light installation process. You will require a screwdriver, wire stripper, voltage tester, and, of course, your new porch light fixture. Safety should be your main consideration, so switch off the electricity at the circuit breaker for the area where you’ll be operating. To avoid electrical risks, use a voltage tester to confirm that the power is turned off.
Step 1: Remove the old fixture.
If you are replacing an outdated porch light, begin by removing the previous fixture. Unscrew the mounting screws that attach the fixture to the wall or ceiling. Carefully remove the fixture out to see the wiring behind it. It’s crucial to note how the old fixture is connected to the wiring so that the new light may be installed more easily.
Step 2: Connect the new porch light.
Now that your new porch light is ready for installation, connect the wires. Typically, there will be a black (hot), white (neutral), and green or bare copper (ground) wire. Use wire nuts to connect the light fixture’s appropriate wires to the house wiring. Make sure the connections are secure and that the wire nuts are tightly attached. Wrap electrical tape around each wire nut and connection to offer an extra layer of safety.
Step 3: Mount the fixture.
Once connected, carefully push the wires back into the electrical box. Align the new porch light’s mounting bracket or screws to the electrical box’s mounting holes. Tightening the mounting screws will secure the fixture to the wall or ceiling. Make sure the fixture is snug on the surface, but don’t overtighten, as this can harm the fixture or the electrical box.
Step 4: Install the Bulb and Test.
Once the fixture is in position, it’s time to install the light bulb. Choose an outdoor bulb that fits your new porch light’s wattage needs. After installing the bulb, turn on the power to the circuit and test the light to make sure it works properly. The fixture or wiring can be adjusted as needed.
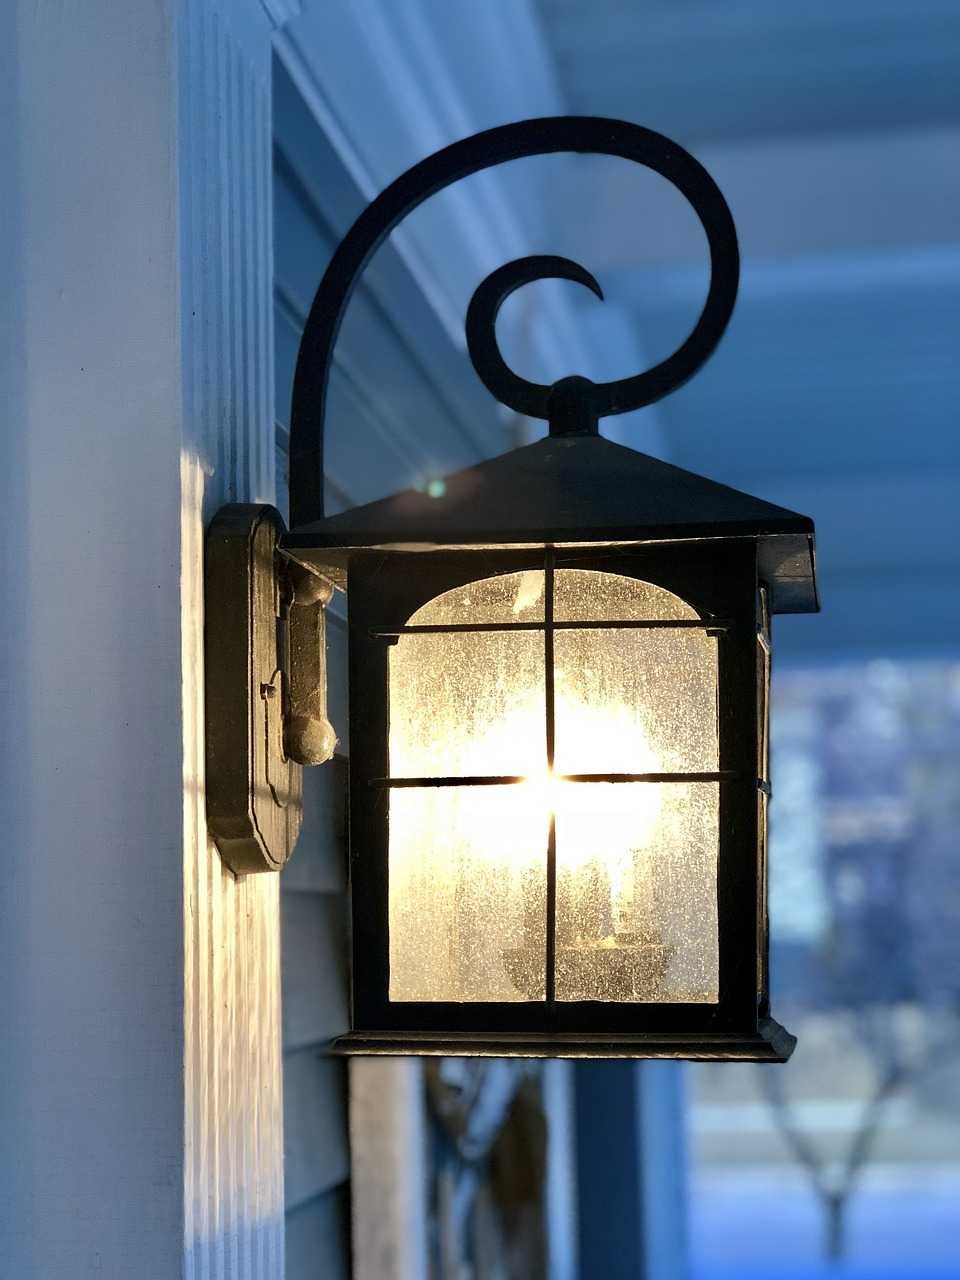
Final touches: Enjoy your new porch light.
Congratulations! You’ve successfully installed a new porch light, which improves the appearance and safety of your home’s entryway. As night falls, your porch will greet you and your guests with a warm glow, making your home feel more inviting and secure.
Installing a porch light is a simple yet effective home improvement project. You may execute this task successfully by following these procedures and according to safety protocols, giving your home’s exterior both aesthetic appeal and utility.