I recently noticed an annoying draft coming from my front door. Not only was it letting in cold air, but I could also hear every little noise from outside. That’s when I knew I had to do something about the gaps around my doors. After some trial and error, I found these five effective fixes that worked wonders for me. If you’re dealing with the same issue, give these a shot!

1. Install Weather Stripping
One of the quickest and easiest fixes is installing weather stripping. I grabbed a self-adhesive foam strip and ran it along the door frame. It instantly sealed the small gaps, blocking out drafts and noise.
Step-by-Step Guide to Installing Weather Stripping
- Measure the Gap – Use a tape measure to determine the size of the gap around your door frame.
- Choose the Right Weather Stripping – Pick from foam tape, rubber, or vinyl, depending on your needs.
- Clean the Surface – Wipe down the door frame with a damp cloth and let it dry completely.
- Cut the Weather Stripping – Use scissors or a utility knife to trim the strip to fit the frame.
- Apply the Weather Stripping – Peel off the adhesive backing and press it firmly along the door frame.
- Test the Door – Open and close the door a few times to ensure a snug fit without obstruction.
- Secure with Additional Fasteners (If Needed) – Use small nails or staples for extra hold.
2. Use a Door Sweep
A gap at the bottom of my door was letting in dust and insects. I installed a door sweep, which was a game-changer.
Step-by-Step Guide to Installing a Door Sweep
- Measure the Door Width – Use a tape measure to determine the correct size for your sweep.
- Select the Right Type – Choose from adhesive, screw-in, or slide-on sweeps.
- Mark the Placement – Position the sweep at the bottom of the door and mark the drill points if necessary.
- Attach the Sweep – If using adhesive, simply stick it on. If screw-in, drill pilot holes and screw it in place.
- Test the Door – Open and close the door to ensure a snug, smooth fit.
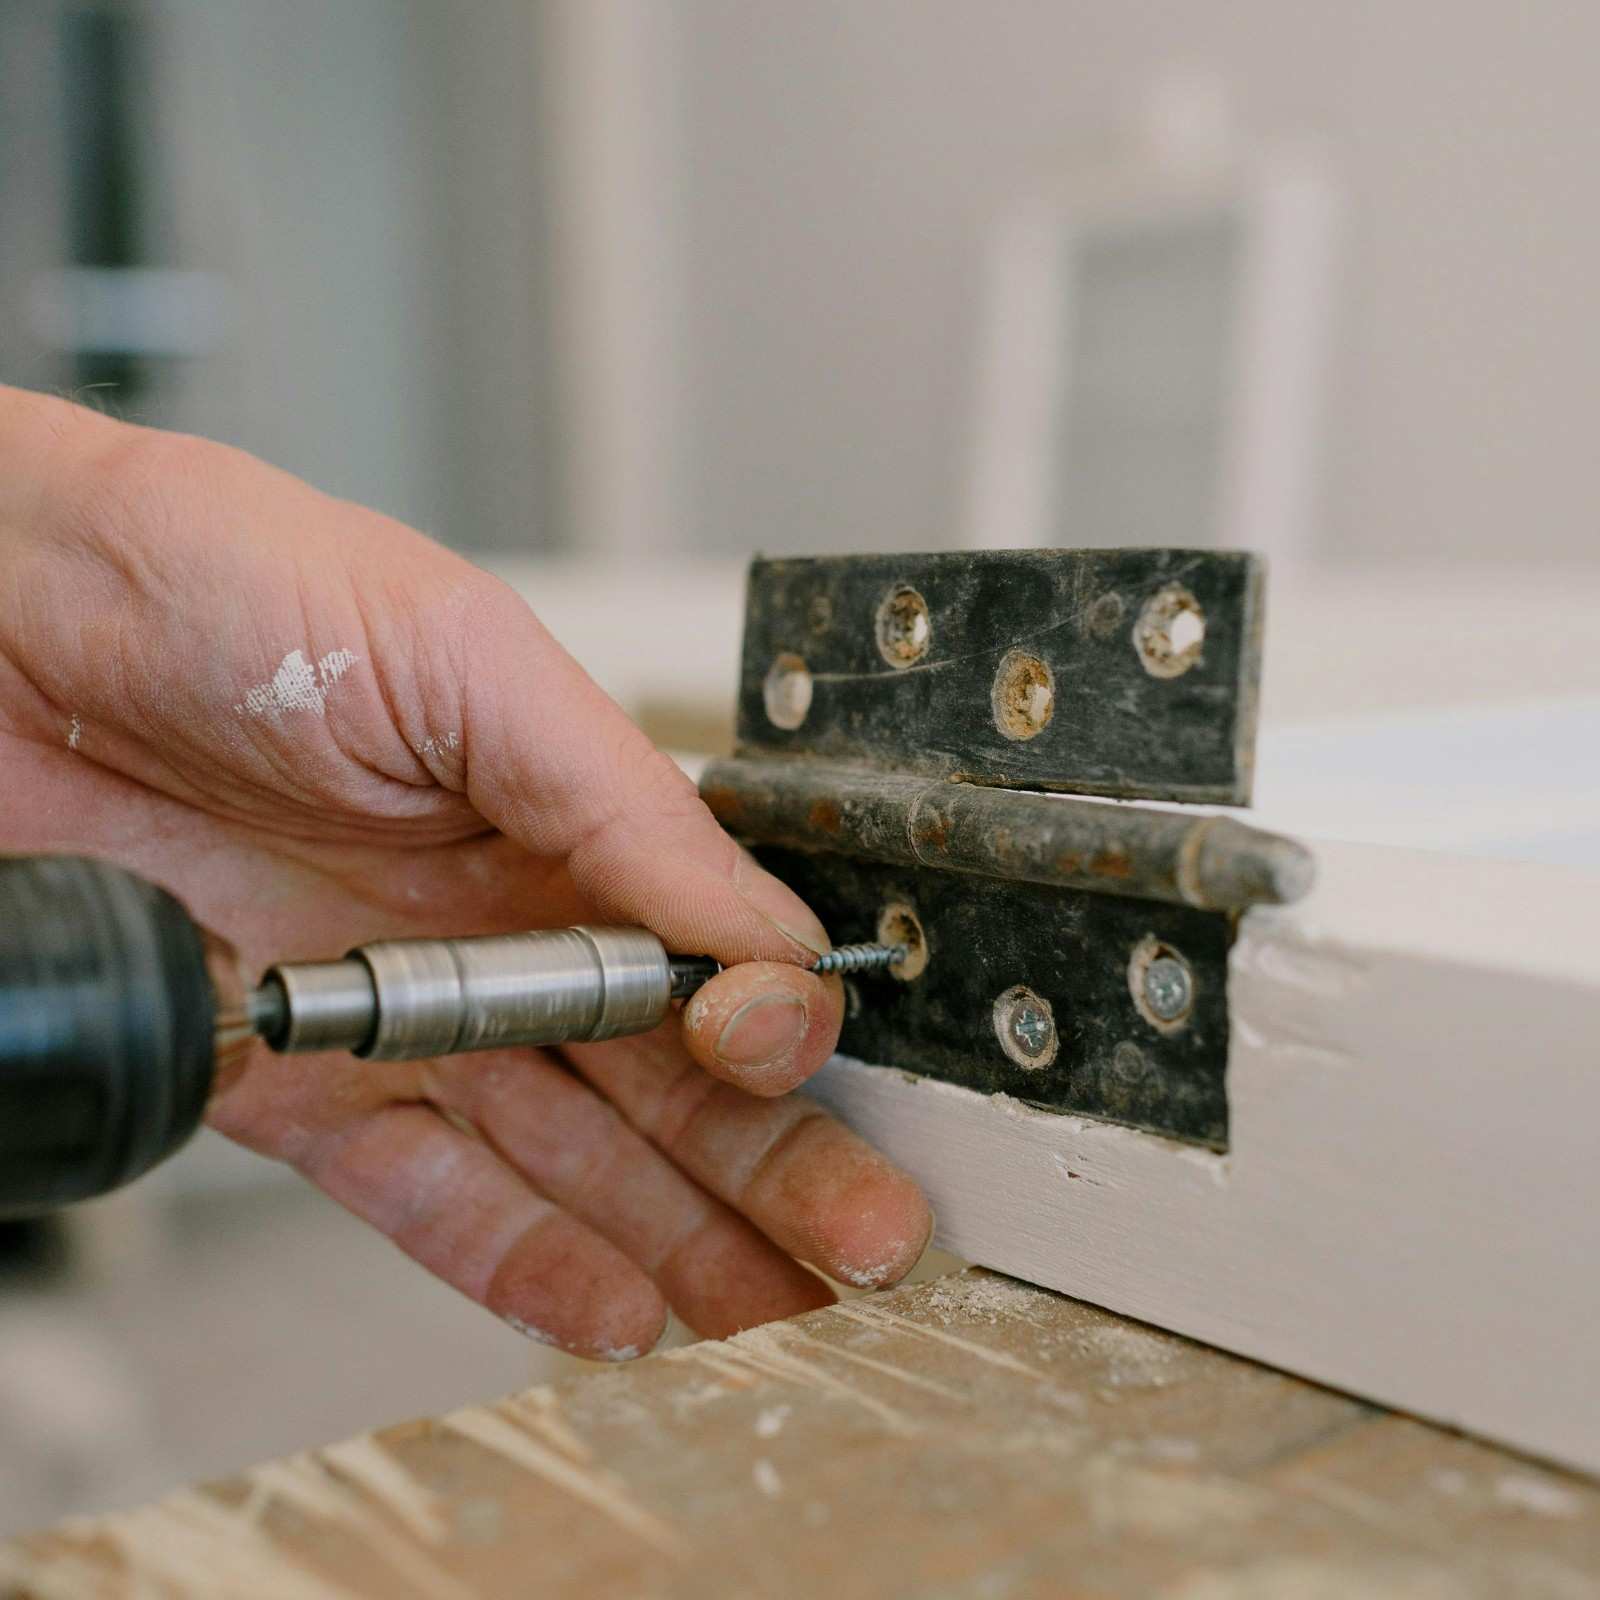
3. Adjust the Door Hinges
My door wasn’t closing flush with the frame, so I adjusted the hinges to fix the issue.
Step-by-Step Guide to Adjusting Door Hinges
- Inspect the Hinges – Check for loose or misaligned hinges causing gaps.
- Tighten the Screws – Use a screwdriver to secure any loose screws.
- Add a Washer – If the gap is still present, insert a thin washer behind the hinges to realign the door.
- Test the Door – Open and close it to ensure proper alignment.
4. Apply Expanding Foam for Large Gaps
Some parts of the door frame had larger gaps that weather stripping couldn’t seal. Expanding foam worked perfectly.
Step-by-Step Guide to Using Expanding Foam
- Identify the Large Gaps – Look for areas where drafts or light are visible around the frame.
- Select the Right Foam – Use low-expansion foam suitable for doors and windows.
- Apply the Foam – Spray the foam into the gap carefully, filling about 50% of the space.
- Let It Expand and Dry – Allow the foam to fully expand and harden (as per product instructions).
- Trim Excess Foam – Use a utility knife to cut off any overflow.
- Paint Over (If Necessary) – For a seamless look, paint the foam to match the door frame.
5. Replace the Door or Frame (as a Last Resort)
If your door is warped or the frame is damaged, replacing it might be the best solution.
Step-by-Step Guide to Replacing a Door or Frame
- Assess the Damage – Check if the door or frame is beyond repair.
- Measure for a New Door/Frame – Use a tape measure to get accurate dimensions.
- Remove the Old Door – Unscrew and lift the door off its hinges.
- Remove the Old Frame (If Needed) – Pry off the old frame using a crowbar.
- Install the New Frame – Position the new frame, ensuring it’s level, and secure it with screws.
- Hang the New Door – Attach the hinges and check alignment.
- Seal Any Gaps – Apply weather stripping or foam to complete the installation.
Fixing gaps around doors doesn’t always require a professional—sometimes, a few simple DIY fixes can make a huge difference. After sealing the gaps, my home feels cozier, my energy bills are lower, and I no longer hear every car passing by. If you’re dealing with similar problems, start with the easiest fix and work your way up. Trust me, you’ll feel the difference!
Frequently Asked Questions (FAQs) About Sealing Door Gaps & Stopping Drafts
1. Why is it important to seal gaps around doors?
Sealing gaps helps prevent drafts, reduce energy bills, keep pests out, and maintain a more comfortable indoor temperature.
2. What are the most common causes of door drafts?
Door drafts are usually caused by worn-out weather stripping, improper door alignment, or natural shifting of the house over time.
3. How do I know if my door has a draft?
You can test for drafts by feeling for cold air near the edges, using a candle flame, or conducting a flashlight test at night.
4. Which weather stripping is best for sealing gaps?
Foam, rubber, or silicone weather stripping are popular options. The best choice depends on the door material and the size of the gap.
5. Can I use a door sweep on any door?
Yes, door sweeps can be installed on most exterior and interior doors, especially those with noticeable gaps at the bottom.
6. How often should I replace door weather stripping?
Most weather stripping should be replaced every 2 to 5 years, depending on exposure to weather and wear.
7. Will sealing door gaps really lower my electricity bill?
Yes, reducing drafts can significantly lower heating and cooling costs by improving energy efficiency.
8. What’s the difference between a door draft stopper and a door sweep?
A draft stopper is typically a removable cushion placed at the bottom of a door, while a door sweep is a permanent, often rubber or metal, attachment.
9. Can I seal door gaps myself, or should I hire a professional?
Most simple sealing tasks can be done DIY with basic tools. However, if the door needs adjustment or replacement, professional help may be needed.
10. What materials do I need for a DIY door sealing project?
Basic tools include measuring tape, scissors, adhesive-backed weather stripping, door sweeps, caulking, and possibly a screwdriver.
11. Are there any temporary fixes for door drafts?
Yes, draft stoppers, rolled towels, or removable tape-on weather seals can provide quick, short-term relief.
12. How do I seal the top of a door frame?
Use foam or rubber weather stripping along the top edge, ensuring a tight seal when the door is closed.
13. Should interior doors be sealed too?
In some cases, like for rooms with independent temperature control or for soundproofing, sealing interior doors is also beneficial.
14. What type of caulk should I use for sealing around door frames?
Use exterior-grade silicone or latex caulk for best durability and weather resistance.
15. Is sealing doors enough, or should I check windows too?
For optimal insulation and energy savings, you should also inspect and seal windows and other openings in your home.